Importing from Logseq
This guide will help you import your files from Logseq into our platform.
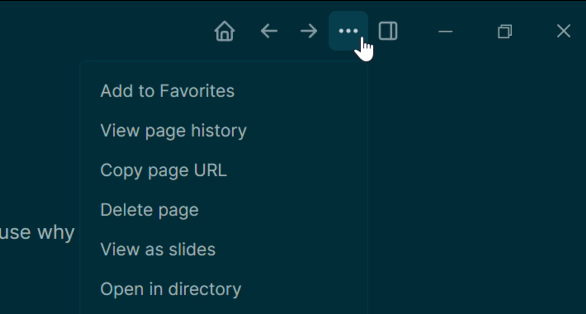
Step 1: Open the Ellipsis Menu
Section titled “Step 1: Open the Ellipsis Menu”Open up Logseq and find the ellipsis located in the top right corner of your application.
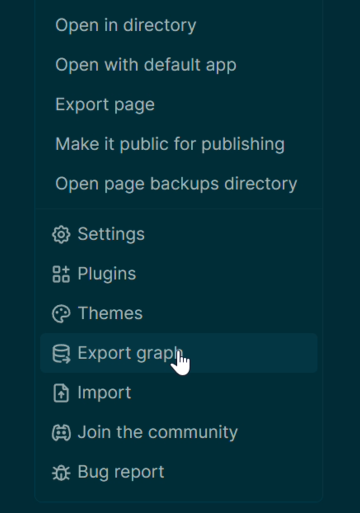
Step 2: Export Your Graph
Section titled “Step 2: Export Your Graph”Select the option from the dropdown menu called Export Graph.
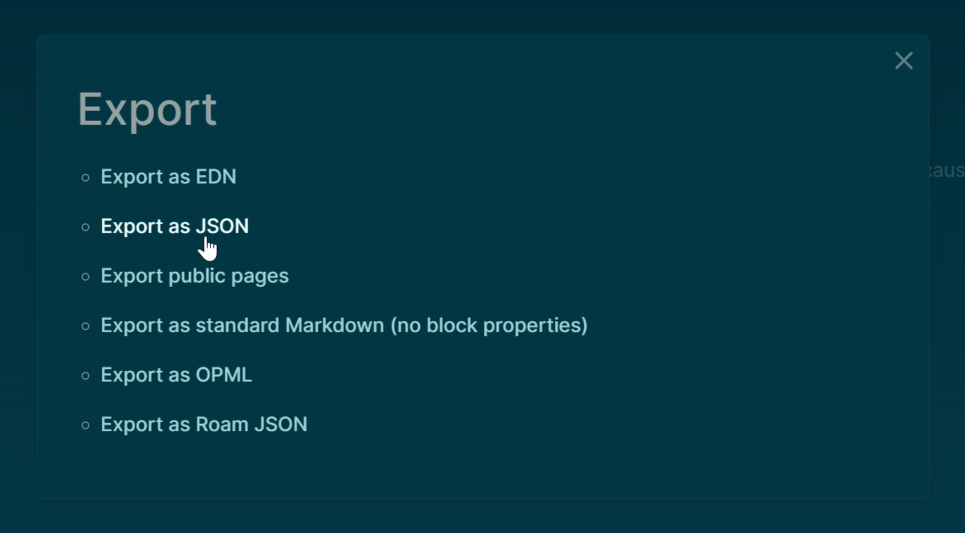
Step 3: Export as JSON
Section titled “Step 3: Export as JSON”Select the Export as Json option from the popover that appears.
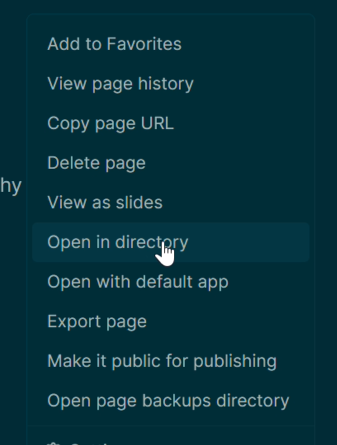
Step 4: Open in Directory
Section titled “Step 4: Open in Directory”Unfortunately, the JSON export doesn’t contain any images you might have attached to your notes, so next we need to head back to the ellipsis dropdown from step one and select Open in directory.
Step 5: Locate the Logseq Folder
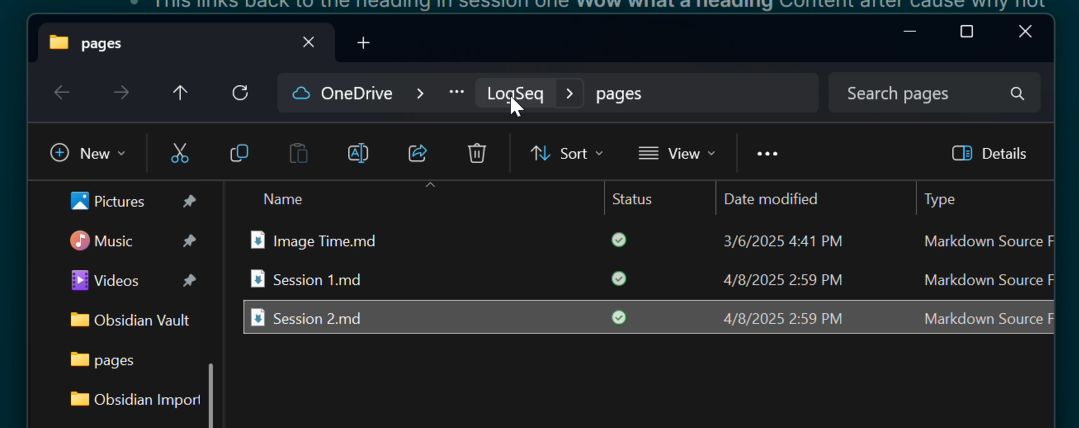
Section titled “Step 5: Locate the Logseq Folder”Clicking that button will open up your system’s file explorer and plant you somewhere within your Logseq folder. To find your images, navigate to the base level of your Logseq folder.
Step 6: Copy the Assets Folder
Section titled “Step 6: Copy the Assets Folder”At the base level of your Logseq folder you’ll see an assets folder. Copy that folder out to wherever you’ve saved the exported JSON of your graph.

Step 7: Zip the Files Together
Section titled “Step 7: Zip the Files Together”Now that we have both the assets folder and the exported graph, we want to zip the two of them together. Select both your assets folder and your graph, right-click and select the option to compress to zip.

Step 8: Upload your Zip!
Section titled “Step 8: Upload your Zip!”Finally we can return to Feynote and select the Browse button of our File Selection page. Select the file you’ve zipped file and click submit!
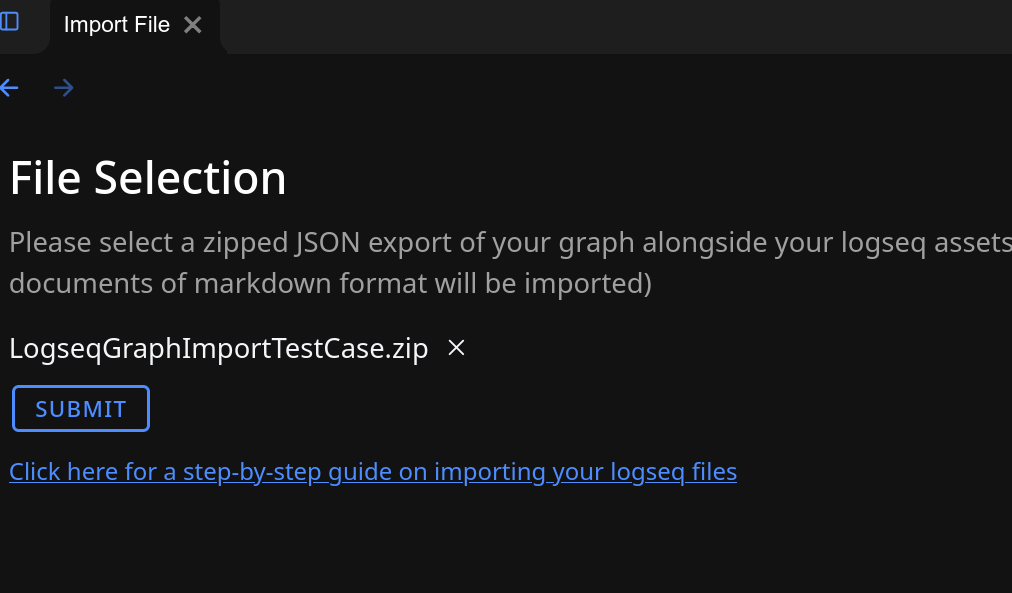
That’s it! Your zip file will start to upload and once its done it will autonavigate you back to the import page where we’ll convert your notes for you! Please do not close or navigate away from the File Selection page until the zip upload is done.